|
How To Make Your Own Handmade Paper Love the look of handmade paper, but don’t want to pay those high prices? Want to add a little flair to your gifts with plantable cards and gift tags? It’s easy and fun to make beautiful sheets of paper at home with little expense and limited equipment! You can choose from many different types of paper and fibers, however, your finished product will only be as good as the paper you start with. The better quality that you start with, the better you will end up with. It is probably not worth recycling old newspapers into handmade paper for use in scrapbooking or crafting. Having said that, you can find all sorts of other “junk” paper to use for this project. Good papers to use include:
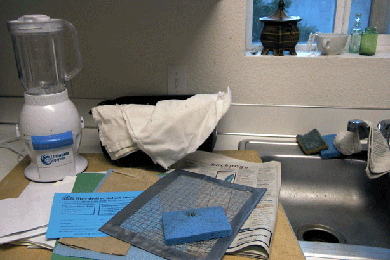
Some paper that you get in your “junk mail” may be suitable for this activity, but it is recommended that you don’t use paper that has a glossy coating on it, such as magazine paper, as it will not yield the best results. If you are using paper that is not labeled acid-free, be sure to treat it with a product such as Make It Acid Free, by Krylon or Archival Mist before using in a scrapbook. In addition to papers to recycle, you will need:
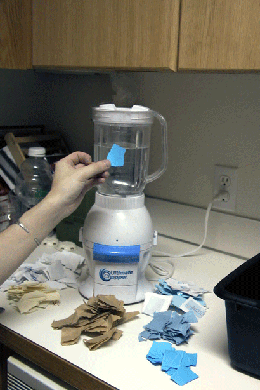
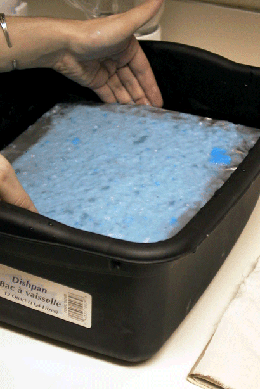
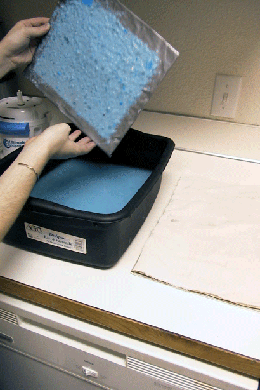
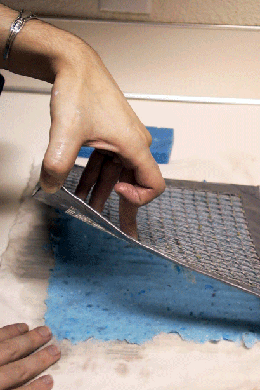
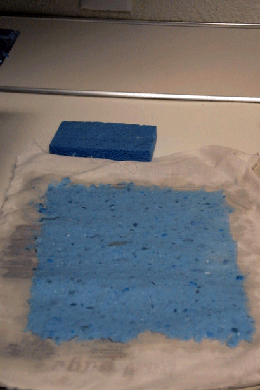
Rip the paper into small bits, and place into the blender. Ideally the pieces will be smaller than 2 inches and roughly square. Put a small amount of the paper in the blender along with some water. About 10 parts water to one part paper is a good ratio to go by. Use the blender’s lowest setting to blend the mixture for 10-15 seconds or so. Your paper’s appearance & consistency will be affected by how long you blend for. The longer you blend, the finer your fibers and the smoother your piece of paper will be. Less beating creates a coarser texture. Don’t be afraid to experiment with different textures. You can achieve some really interesting effects with 5 second blends using papers that have lots of text on them. The end result will be that some random letters, which have not been destroyed by the blending process, will be intermittently scattered over the surface of the finished paper. If you prefer not to have that happen, blend your mixture a bit longer so that the writing on it will be eliminated. Remember that your dried paper will be one to three shades lighter than your pulp. If you desire a deeper shade, try adding some food coloring. Add your enhancements such as glitter, dried flowers, etc. Stir 2 teaspoons of liquid starch, or 1 package of gelatin into the pulp. This is not absolutely necessary but you should add some if the paper is going to be used for writing on, as the starch/gelatin helps to prevent inks from soaking into the paper fibers. Pick up the mold (the frame with screen), screen should be facing up. Place the deckle (the unscreened frame) on top of the mold. Holding both together tightly, place into the dishpan of water, horizontally, so that they are just slightly submerged. Pour the paper pulp mixture into the mold and deckle. Pour slowly so that the paper pulp is evenly distributed. Moving the frame from side to side, to further distribute the pulp, slowly lift the molds out of the water and let drain. Remove the deckle, and place the mold on a table. Place one of your pieces of felt or flannel fabric on top of your newly made sheet. Flip over. Press screen into the fabric to help release paper. Lift frame up slowly. If the paper sticks or falls apart, remove more water using the sponge. If you have removed enough water out of the paper, you should at this point be able to lift sheet off the fabric. Remove the piece of paper by carefully peeling up the fabric, making sure that the paper is attached to it. BE VERY CAREFUL, or you will rip the paper. Your sheet of paper, although wet is finished. There are several ways that you can dry your handmade paper:
When you’re finished making paper, collect the leftover pulp in a strainer and throw it out, or freeze it in a plastic bag for future use. Don’t pour the pulp down the drain. Use your beautiful handmade paper to create one-of-a-kind scrapbooking layouts, cards, or stationary!
All pictures on this page provided courtesy of B_Zedan
|


